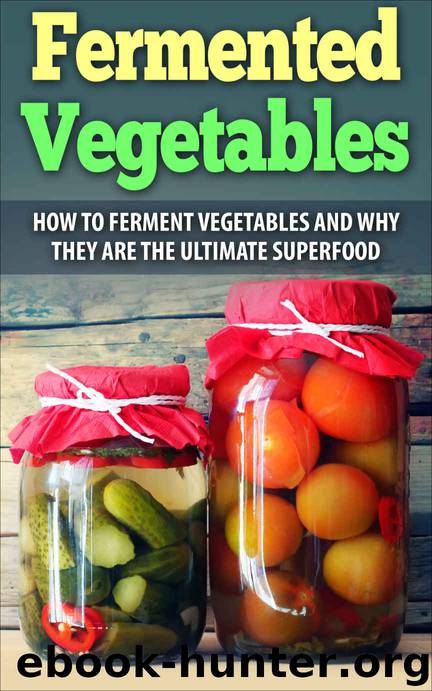
Fermented Vegetables: How To Ferment Vegetables And Why They Are The Ultimate Superfood(22 Easy Recipes) by Alison Jones
Author:Alison Jones [Jones, Alison]
Language: eng
Format: azw3
Published: 2015-10-08T04:00:00+00:00
CHAPTER 4: FERMENTATION – HOW TO
Now that you know about everything that you need, your equipment and ingredients should be ready.
Let’s review the things you should have. Please check:
· One suitable container
· Vegetables to fill your container
· Salt
· Water (around 1 1/4 cups)
· Plate for weighting the vegetables down
· Cloth
· Meat tenderizer
If everything you need is available, you can start with the fermentation process. Here’s a step by step on how to ferment your vegetables.
STEP 1 -PROCESSING YOUR VEGETABLES
First, you must scrub your veggies. Make sure that you rinse the skins of each one separately and then chop them into either strips or chunks. In fact, processing your vegetables is an entirely personal choice. There are several ways to prepare your vegetables: shredding, chopping, grating, slicing, or even leaving it whole as it is.
Sometimes it depends on the vegetable because some are more suited for leaving whole while others are better fermented when they are cut. You can also peel them if you prefer but it isn’t necessary. Cutting ensures a greater surface area that favors the fermentation process. Also, if you’re fermenting cabbage to make sauerkraut, then shred the cabbage into bite-sized strips.
STEP 2 - RELEASING THE JUICES
Put your prepared vegetables into a bowl and then use a meat tenderizer to help release their juices. You can also use kraut powder or even squeeze the vegetables for this purpose. If you want your vegetables to remain intact, you will still have to press them to break the cell wall and cause the juice to come out.
STEP 3 - ADDING SALT
Just add the salt to taste and mix it with the vegetables and juice with the help of a spoon. In case you are using a starter culture or whey then you can add those too. Whatever you choose to add can vary depending on your special dietary requirements, taste, or the vegetables that you are using.
STEP 4 - PACKING THE VEGETABLES
Pack your mixture into your jar, and remember to leave 3 inches of empty space from the top. Then use a wooden stick, your hands, or any other kitchen tool to push your vegetables down to the bottom of the jar so that the juices can come up to cover all the solid pieces of vegetables. Top your jar off with water to make sure they are fully submerged in the liquid, so that they are in an anaerobic environment.
STEP 5 - WEIGHTING AND COVERING
For fermentation, you have to weight your vegetables down and make sure they remain under the liquid. Use your choice of weight system for this purpose and make sure that whatever you use (plate or jar) fits properly. Drape your entire container with a light and tightly woven cloth on top to protect your vegetables from insects and to maintain air flow.
STEP 6 – FINISHING THE FERMENT
Leave your jar to sit at room temperature, and place it in a dry, cool area. The vegetables will instantly start breaking down and fermenting. Remember that the room should not be too hot or too cold.
Download
This site does not store any files on its server. We only index and link to content provided by other sites. Please contact the content providers to delete copyright contents if any and email us, we'll remove relevant links or contents immediately.
Whiskies (Collins Gem) by dominic roskrow(45527)
101 Whiskies to Try Before You Die by Ian Buxton(45318)
World's Best Whiskies by Dominic Roskrow(45122)
Whiskies Galore by Ian Buxton(42156)
The Fast Metabolism Diet Cookbook by Haylie Pomroy(21256)
Chic & Unique Celebration Cakes by Zoe Clark(20149)
Craft Beer for the Homebrewer by Michael Agnew(18343)
The Bone Broth Miracle: How an Ancient Remedy Can Improve Health, Fight Aging, and Boost Beauty by Ariane Resnick(16704)
For the Love of Europe by Rick Steves(14904)
Tools of Titans by Timothy Ferriss(8593)
Chowders and Soups by Liz Feltham(8436)
A Court of Wings and Ruin by Sarah J. Maas(8109)
How to Be a Bawse: A Guide to Conquering Life by Lilly Singh(7613)
The Institute by Stephen King(7151)
Cravings: Recipes for All the Food You Want to Eat by Chrissy Teigen & Adeena Sussman(6860)
Wiseguy by Nicholas Pileggi(5930)
The Last Wish (The Witcher Book 1) by Andrzej Sapkowski(5592)
Spare by Prince Harry The Duke of Sussex(5368)
Room 212 by Kate Stewart(5271)
